
IDEALSPATEN MANUFACTURING PROCESS
Maintenance
-
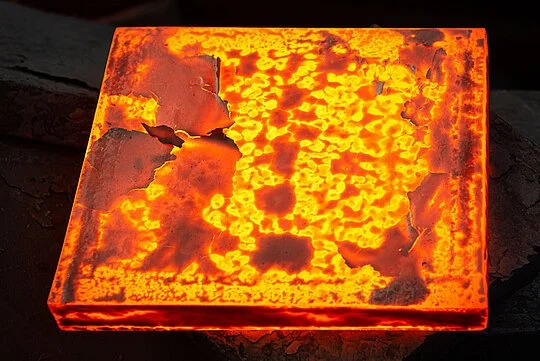
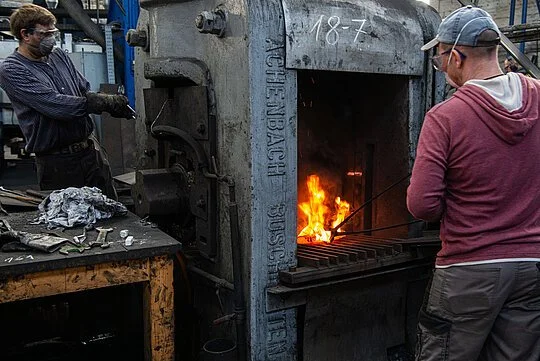
Step 1 - Heating the Steel Blank
German boron-alloyed heat-treated steel. The steel blank is heated to approximately 2200°F.
-
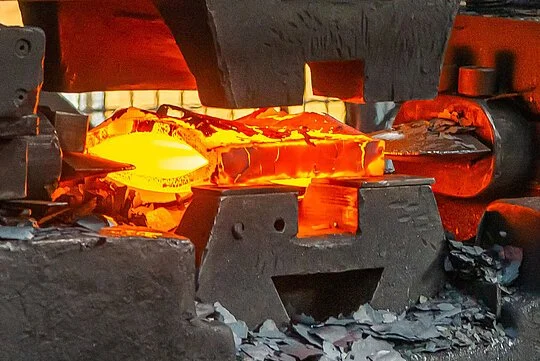
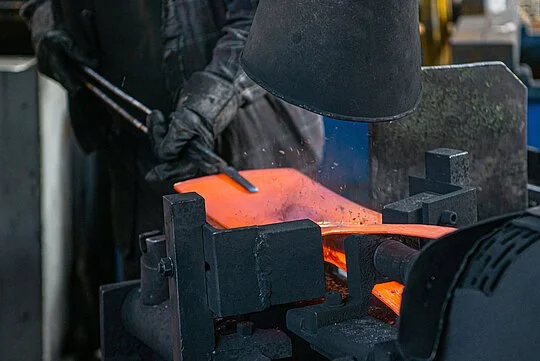
Step 2 - Press Indentation
An indentation is pressed into the blank from both sides, while the steel is soft and glowing orange hot.
-
Step 3 - Carbon Dusting
Carbon dust is pressed into the newly created indentation to prevent the steel from bonding back together during the incoming rolling processes.
-
Step 4 - Rolling Press Process 1
The steel is rolled in multiple stages, which is strengthening the steel and increasing density.
-
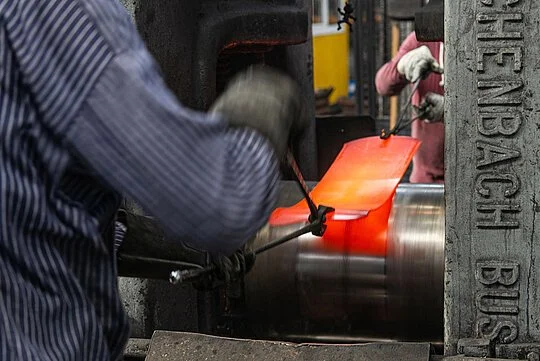
Step 5 - Rolling Press Process 2
This additional process is rolling the steel thinner. The extreme temperature of the steel allows the shape to be manipulated and reshaped, without material loss.
-

Step 6 - Cutting the Steel Plate
This elongated steel plate is now cut and parted in the middle.
-

Step 7 - Rolling Press Process 3
The steel plate is now rolled into a conical shape, which is a special technique that creates the self sharpening ability of our shovel blades. The lower portion of the blade is thinned, while the upper shoulder section is thickened.
-
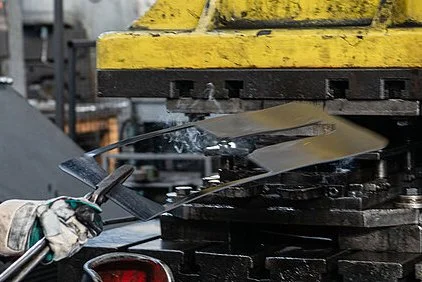
Step 8 - Punching Out the Shape
This cutting machine punches out the overall shape to the shovel head.
-
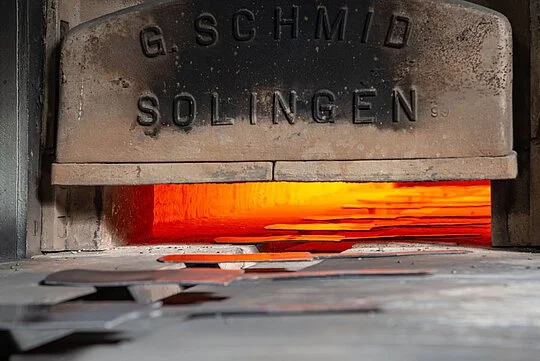
Step 9 - Reheating the Heads
The blades have cooled during the previous steps, and now must be reheated. The reciprocating furnace reheats the heads up to 1700°F.
-
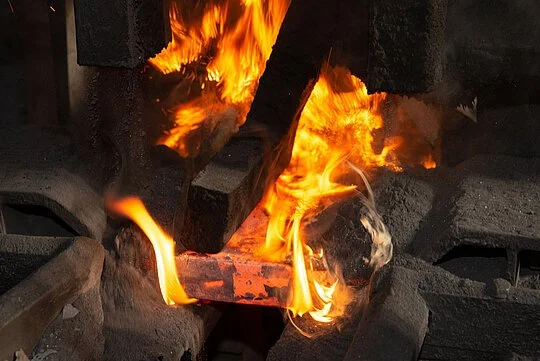
Step 10
A chisel is used to spread the steel and create the 'double spring', which is the handle mounting area. Due to the carbon dusting pressed into the steel during Step 3, the steel does not re bond during the rolling processes.
-
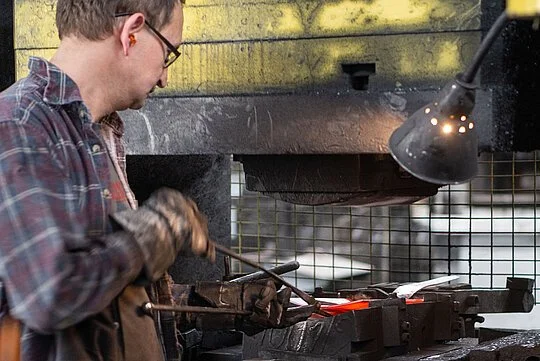
Step 11 - Pressing and Shaping
This press is giving the blade it's final design, and creating the subtle yet critical curves in the head's shape.
-

Step 12 - Spring Pressing
In a different press, the spring is now given it's final shape
-
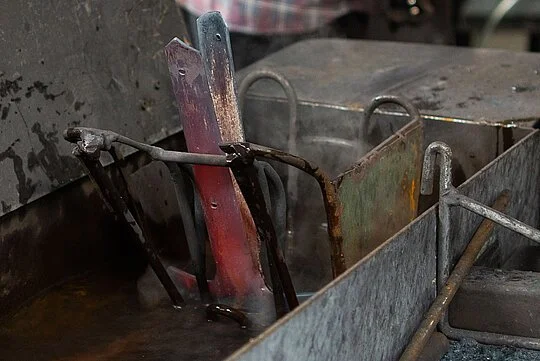
Step 13 - Hardening the Steel
The head is now cooled in an oil bath of cold running liquid. This process quickly cools and hardens the steel into the strong and resilient shovel head.
-

Step 14 - Sandblasting
The heads are sandblasted in a large chamber booth. This smooths the surface of the steel and removes debris and forging scales, which is an oxide layer that forms during the earlier steps while the hot steel is reacting with oxygen.
-
Step 15 - Welding
The base of the double spring is welded closed, so that as the handle is inserted into the stem, the connection is protected against water, dirt, and debris.
-
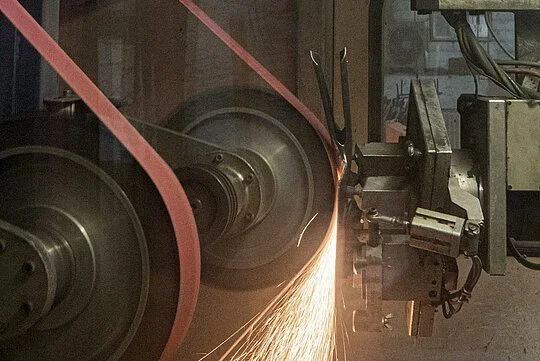
Step 16 - Polishing
A robotic arm precisely controls the head against fine grit sanding belts, polishing the entire head. This smooths the steel surface, reducing friction and adhesion against the dirt, and helps fight against rust.
-
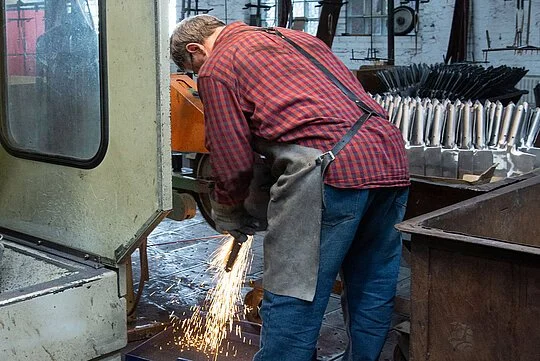
Step 17 - Manual Polishing
After the robotic polish, another stage of manual polishing is performed. At this stage, the worker is taking additional time to check quality and ensure all areas are smooth and finished.
-
Step 18 - Wet Lacquer Finish
The heads are coated in a thin and clear lacquer finish to help protect the head from rusting, particularly during storage and warehousing.
-

Step 19 - Inserting the Handle
A precisely shaped handle is inserted into the shovel's spring housing, and a riveting machine presses and installs rivets, strongly securing the handle the the head.
-
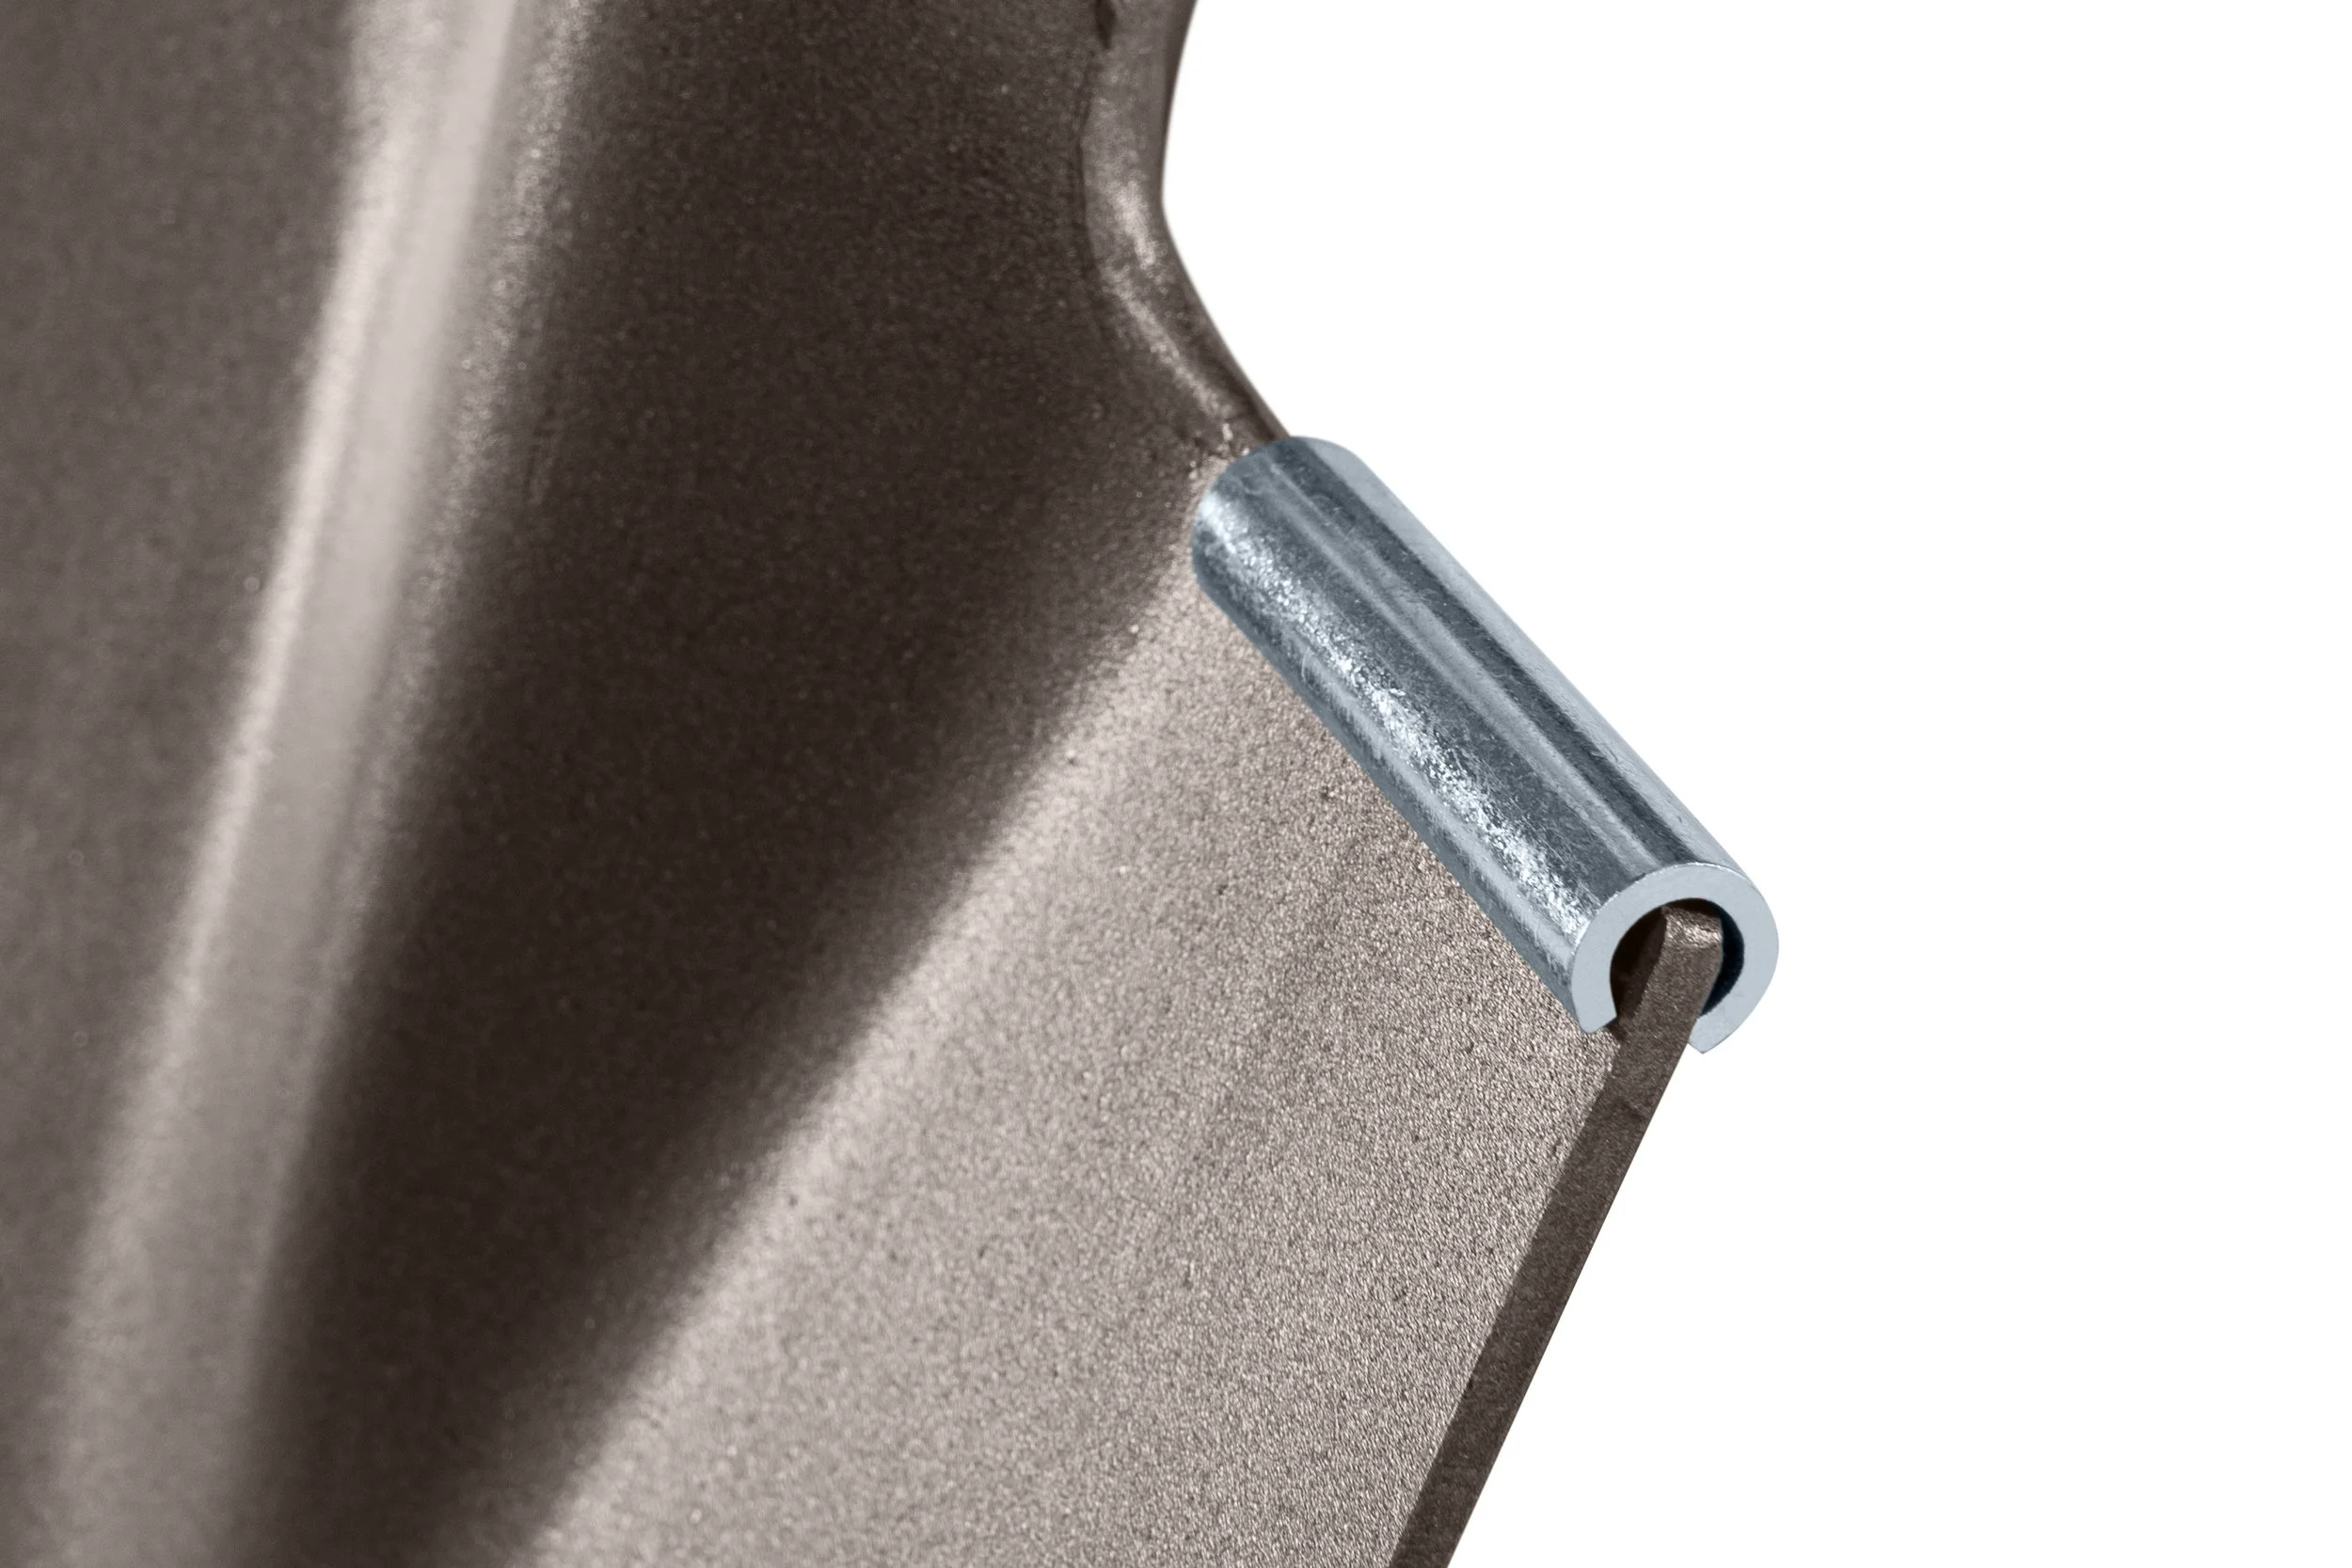
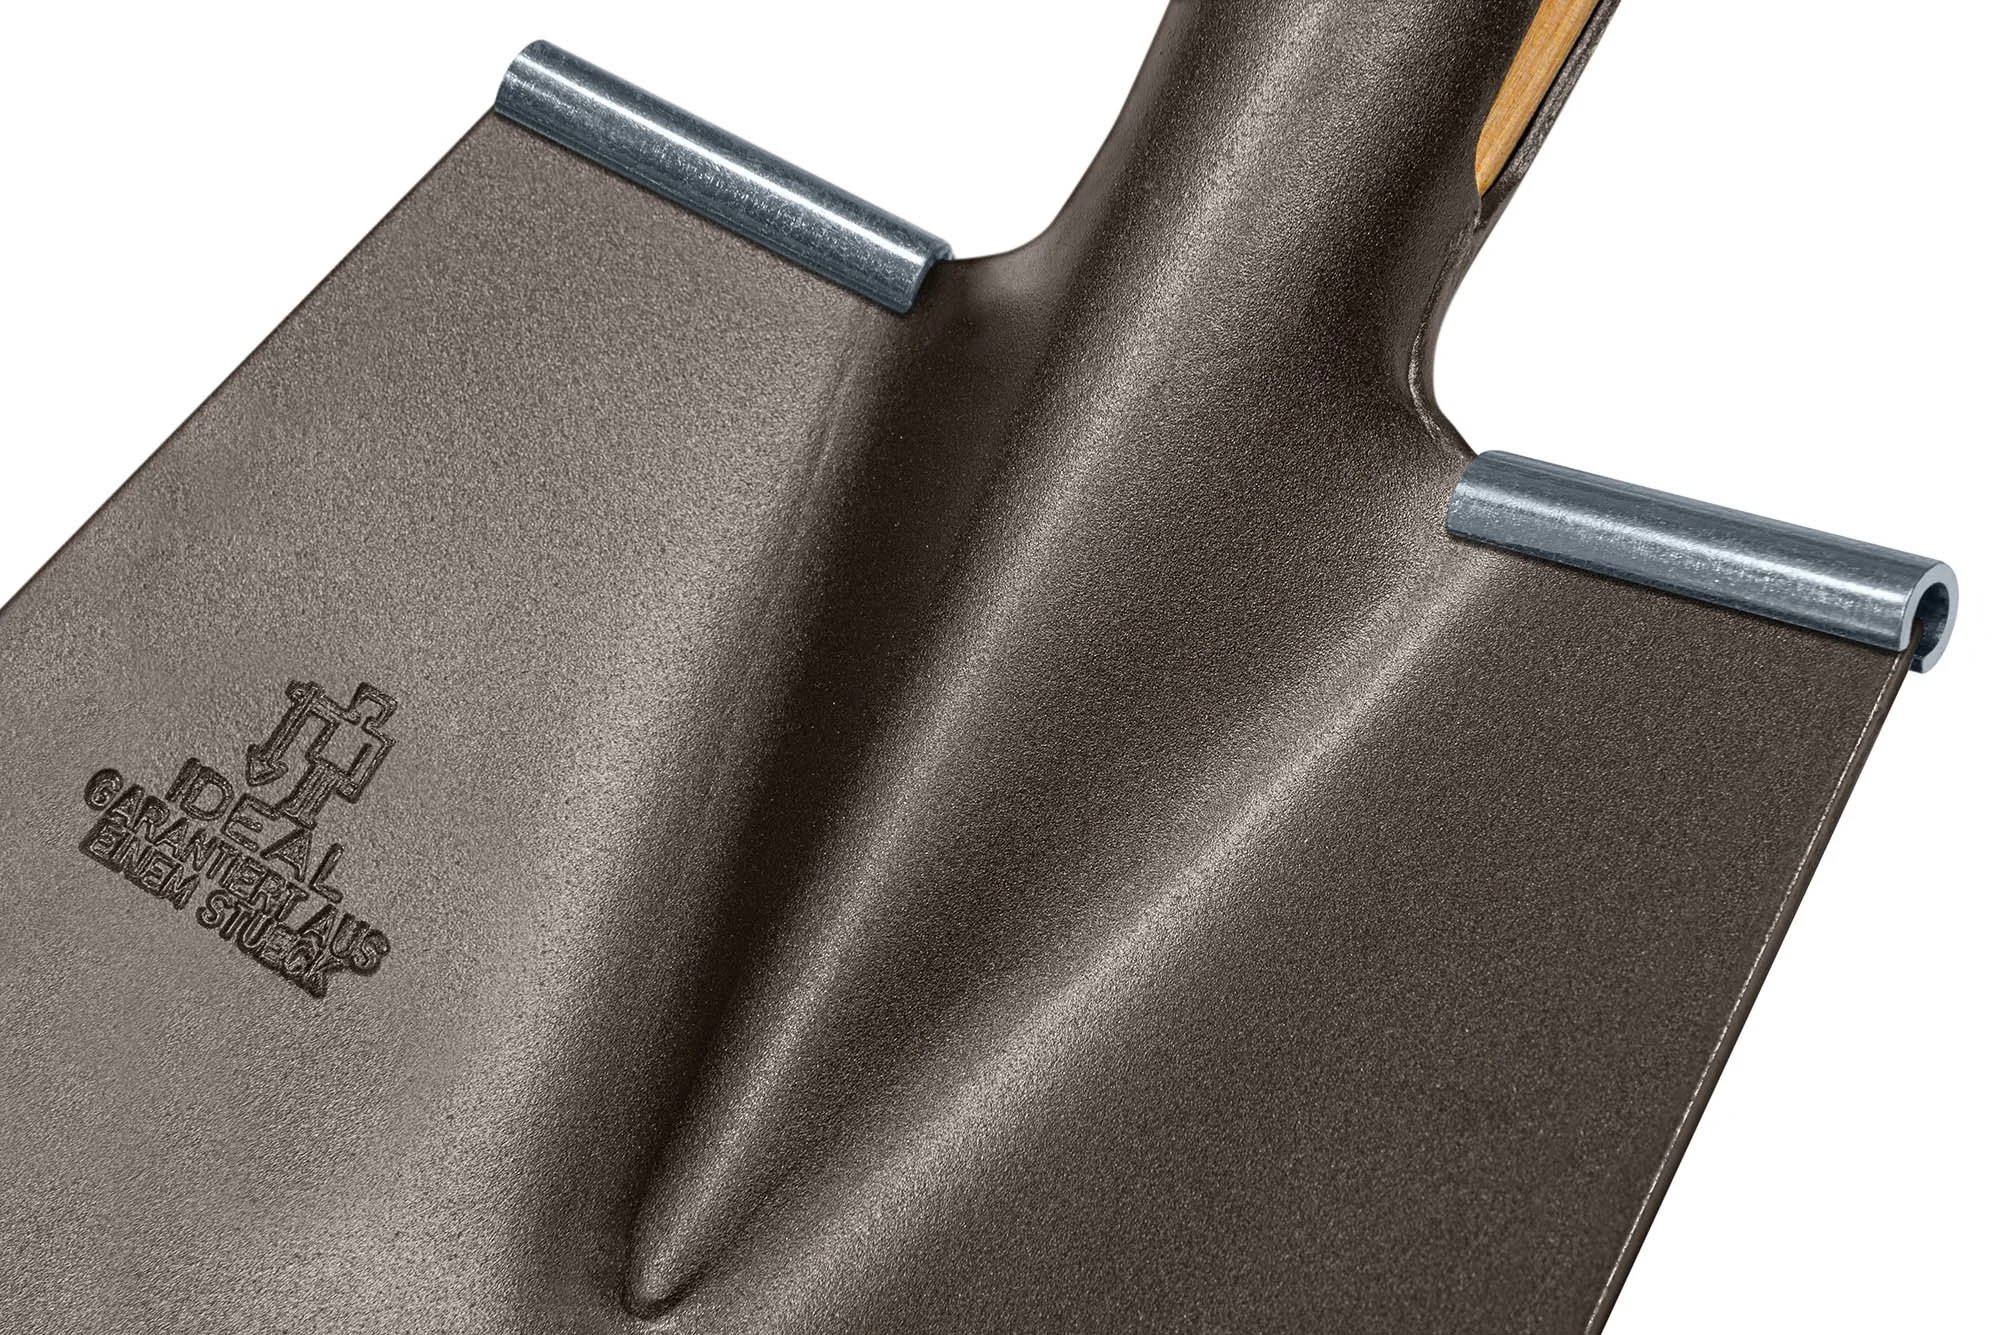
Step 20 - Tread Attachments
Once the shovels are finished, treads are now installed with a hammer. These provide the additional foot and boot support when digging.
-

Step 21 - Labeling
The proper labels or stickers are now applied for final identification.
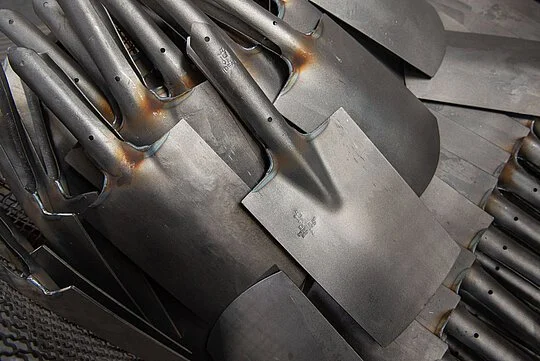
Eventually, you get…

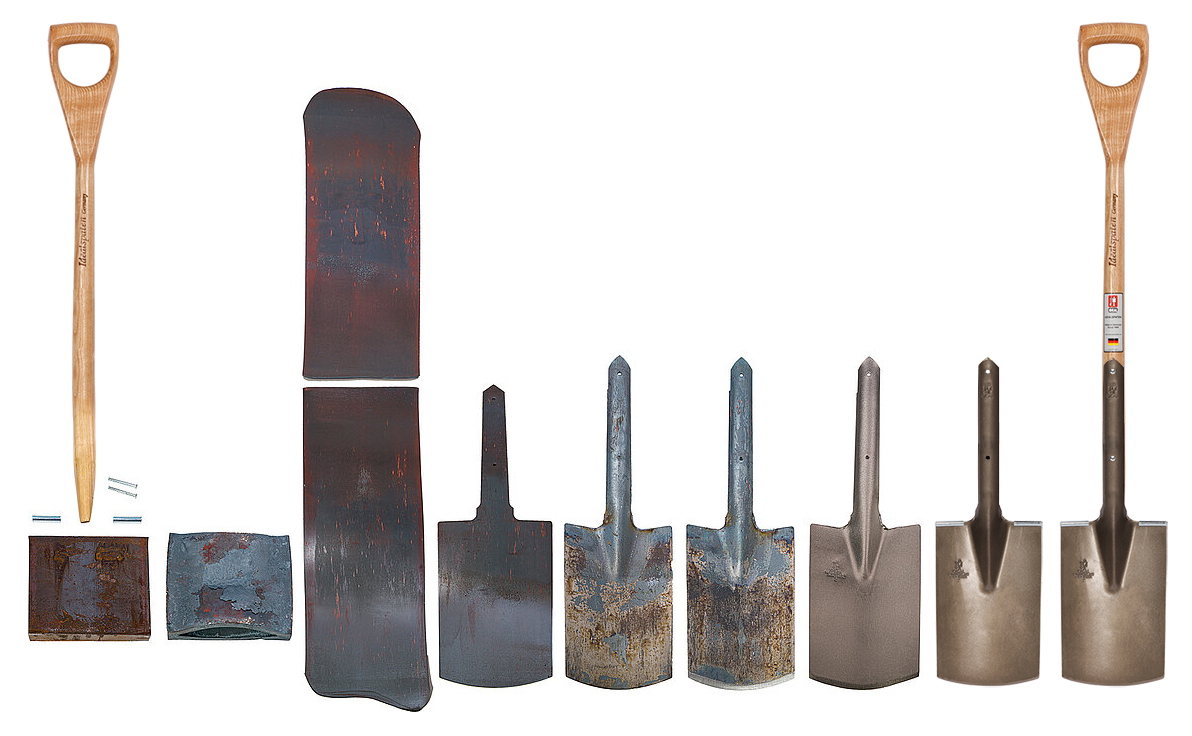
The Finished Product


Handles
The quality of the handle is also a significant measure of the tool’s integrity. Idealspaten handles are proudly crafted from FSC Certified sustainably sourced Grade A Swiss Ash. Idealspaten promotes environmentally sound, socially beneficial, and economically prosperous management of the world's forests.
Our saw mill cuts the Ash logs into planks, which are then stored and softly air dried for 9 to 10 months, depending on the weather in Northern Europe that season. Our proprietary drying process will bring the wood's moisture content down to a precise level, before the wood is ready to be made into handles.